How To Create your First Qeryz Survey
GETTING READY WITH FIRST QERYZ SURVEY
I know you’re excited to use Qeryz so here’s a short guide how to use it in your website.
GETTING STARTED
On the upper right hand of the Qeryz Page, click “Sign up” and “Login” button to get started.
SUBSCRIPTION
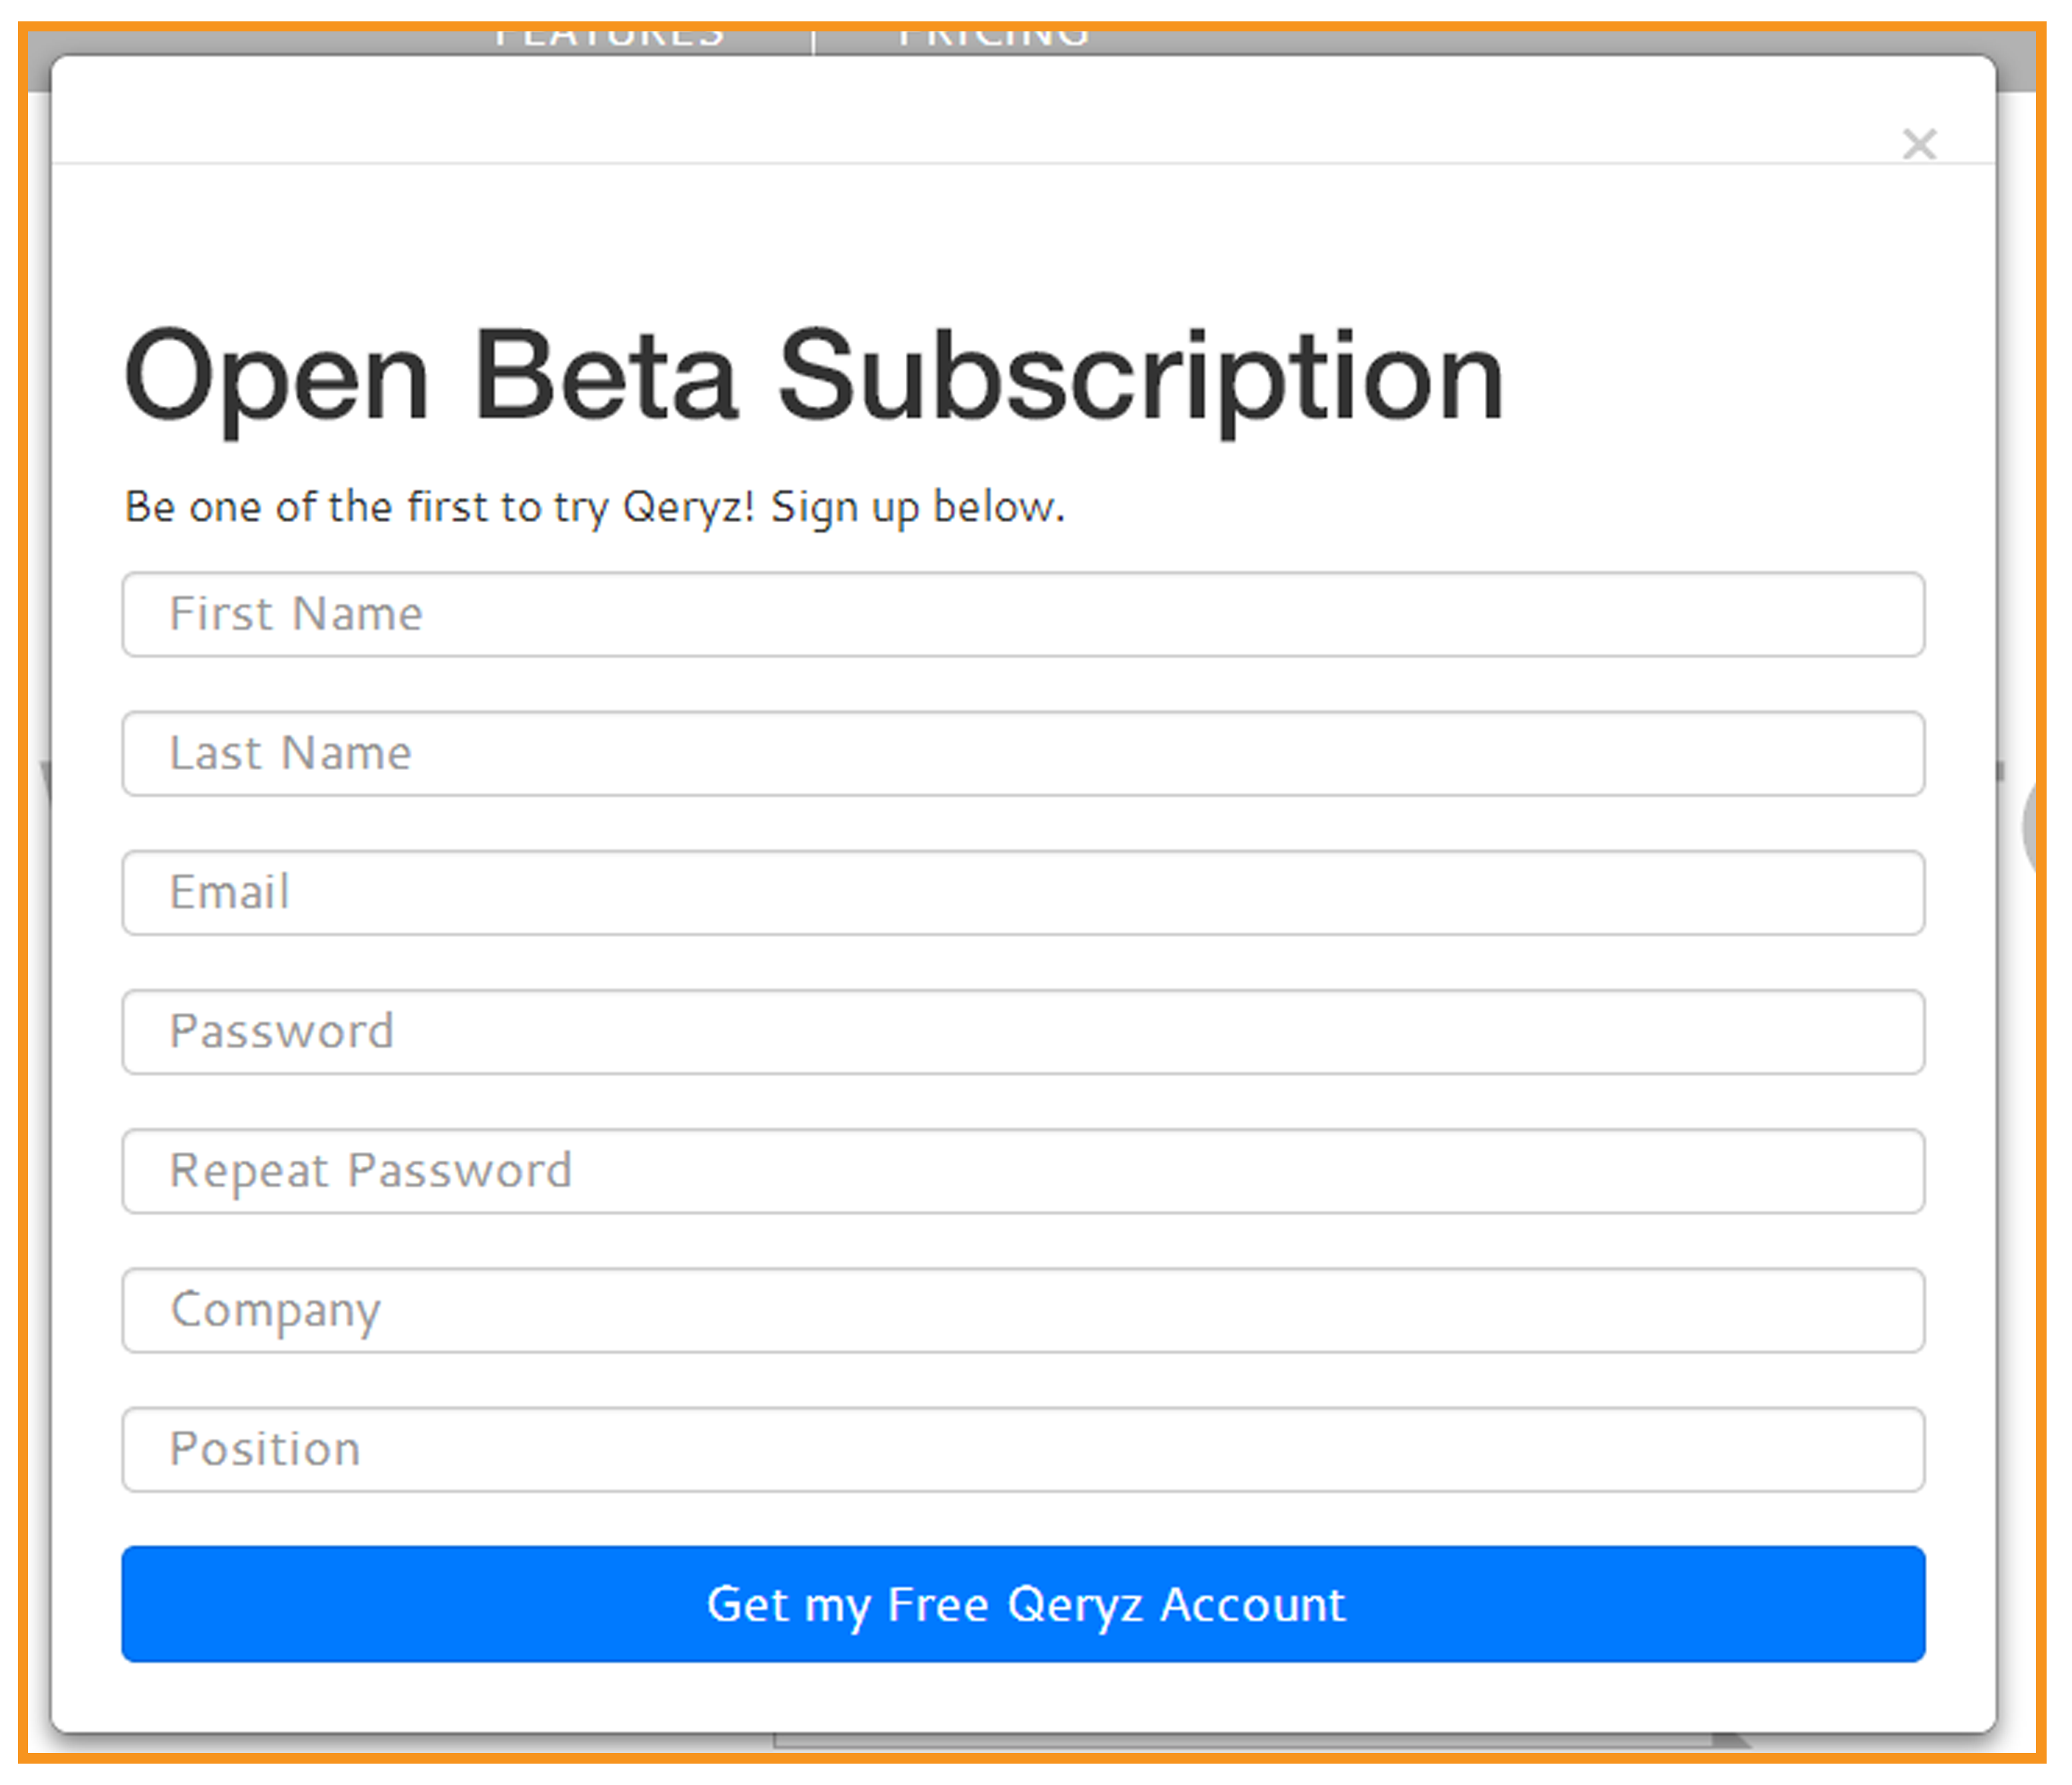
After clicking the “Sign Up” button, fill up the form with the information you are asked to. Don’t hesitate to give data because your identity is safe with us.
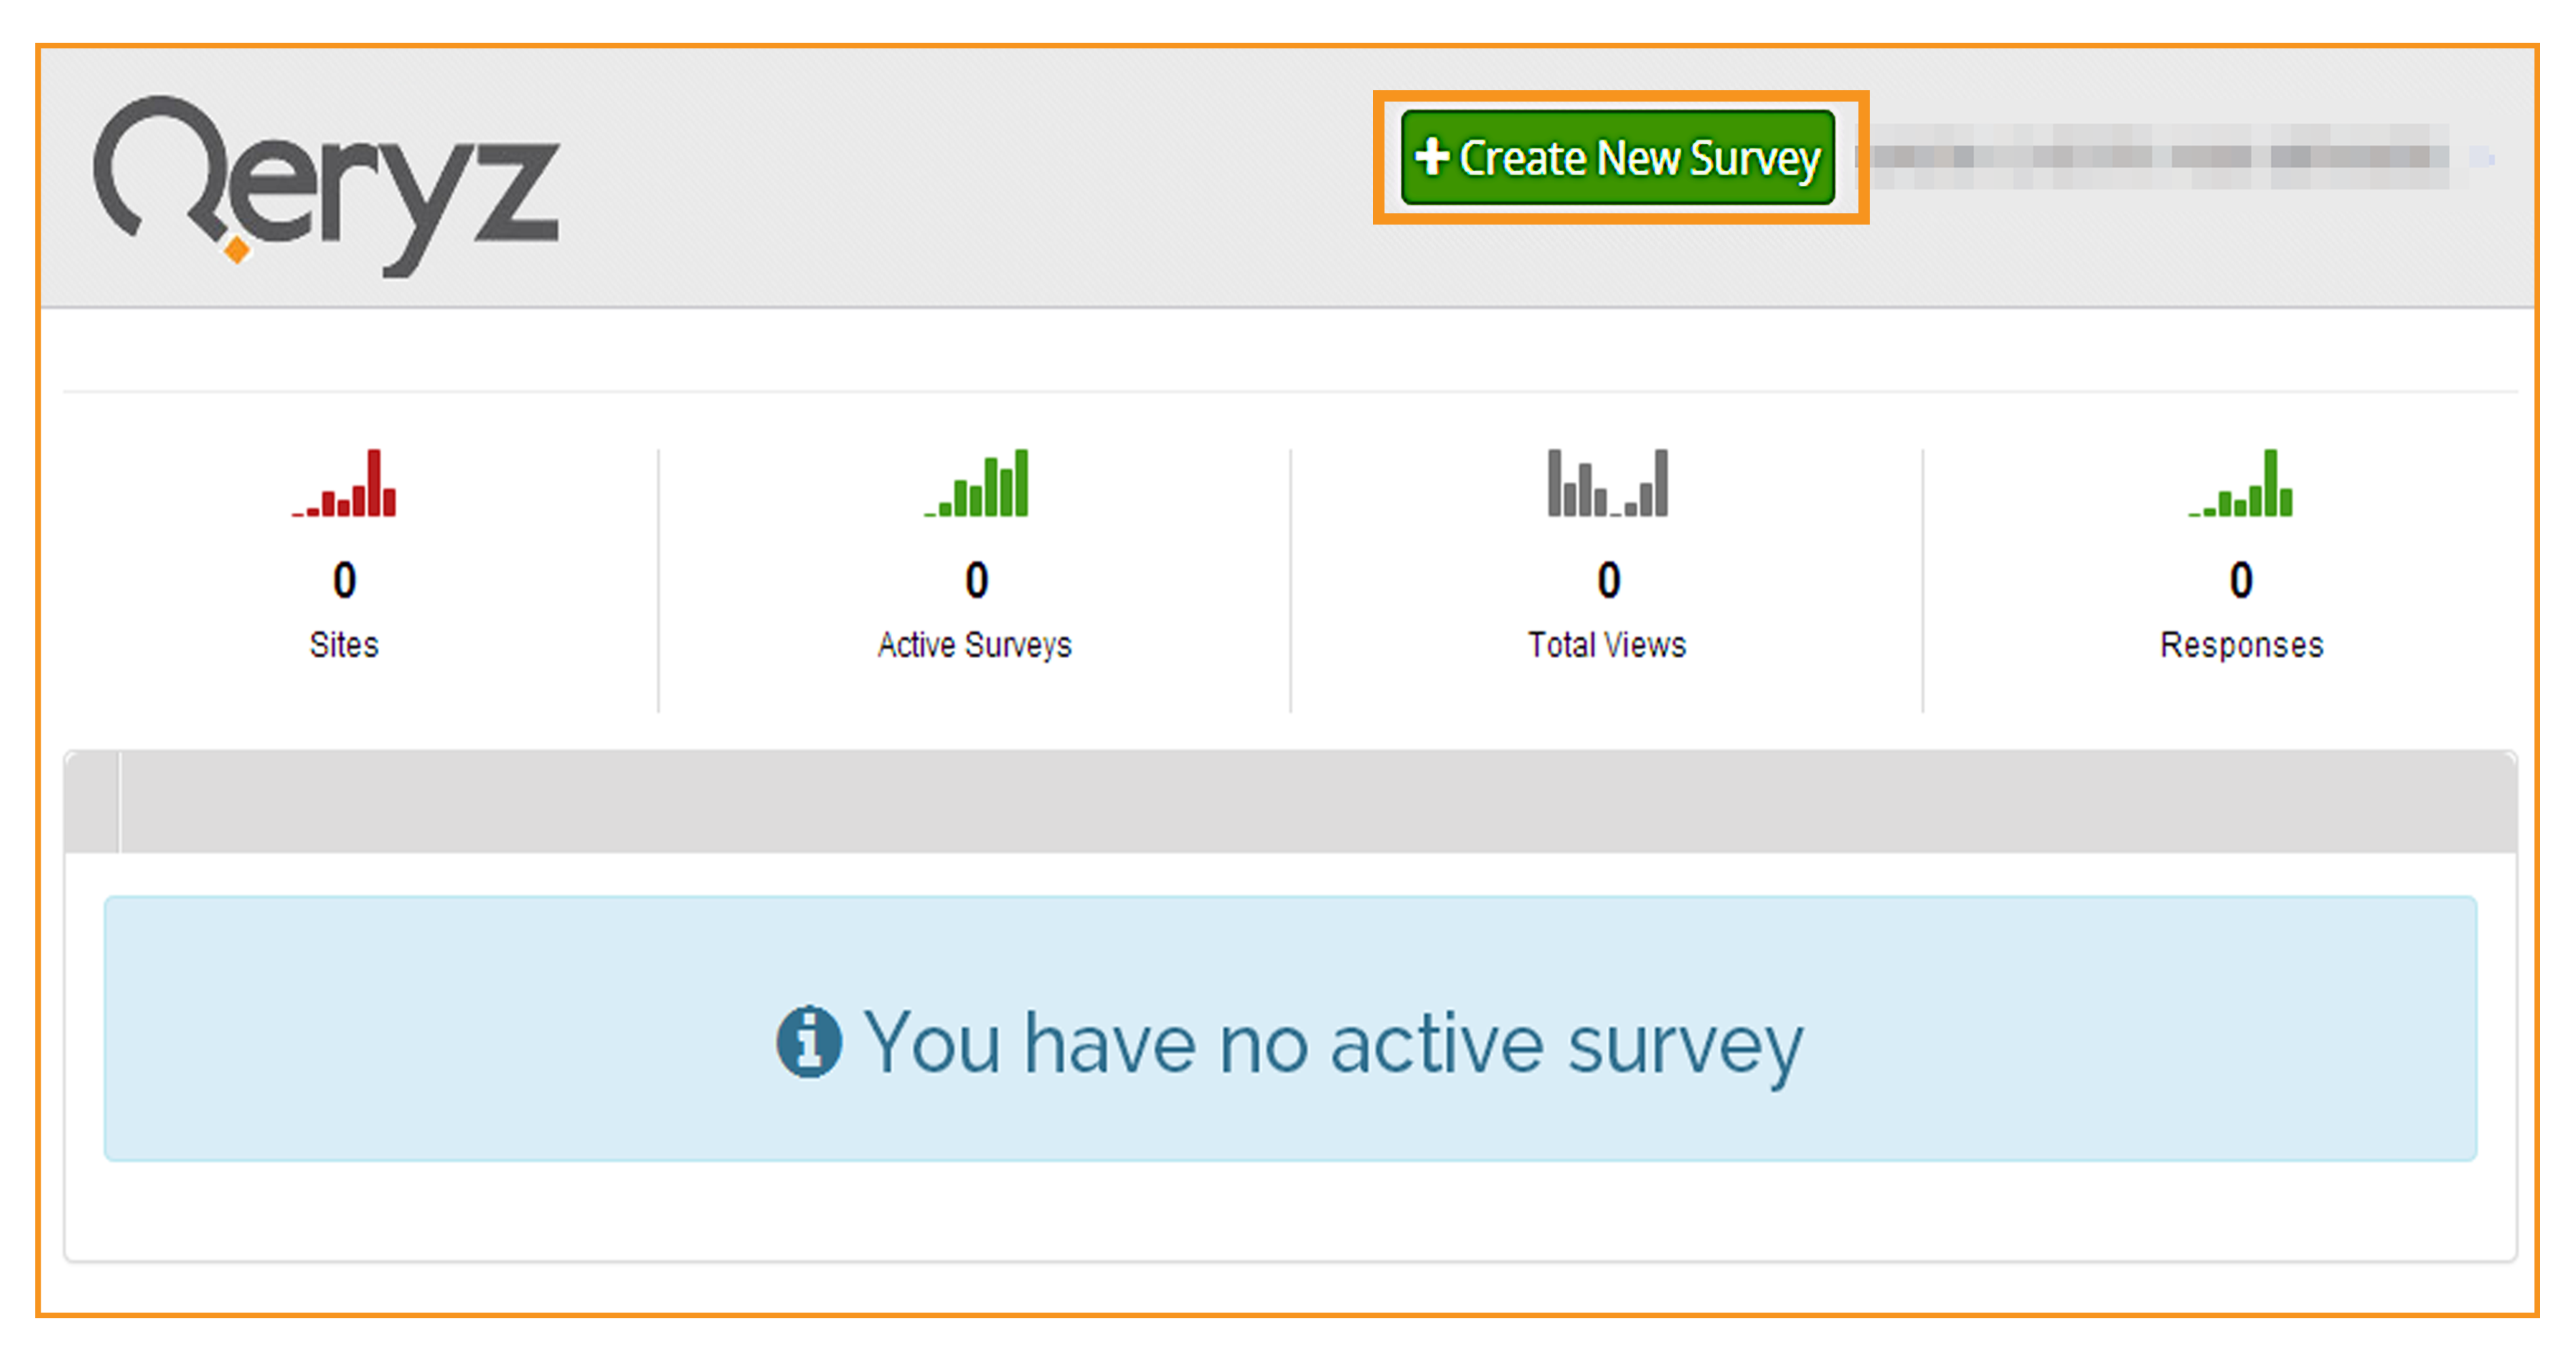
If you’re done filling up, click “Get my Qeryz free Account” and check your email to confirm your Qeryz subscription. Link provided on your email will lead you to your Qeryz Dashboard where you can create your first survey.
CREATE YOUR NEW SURVEY
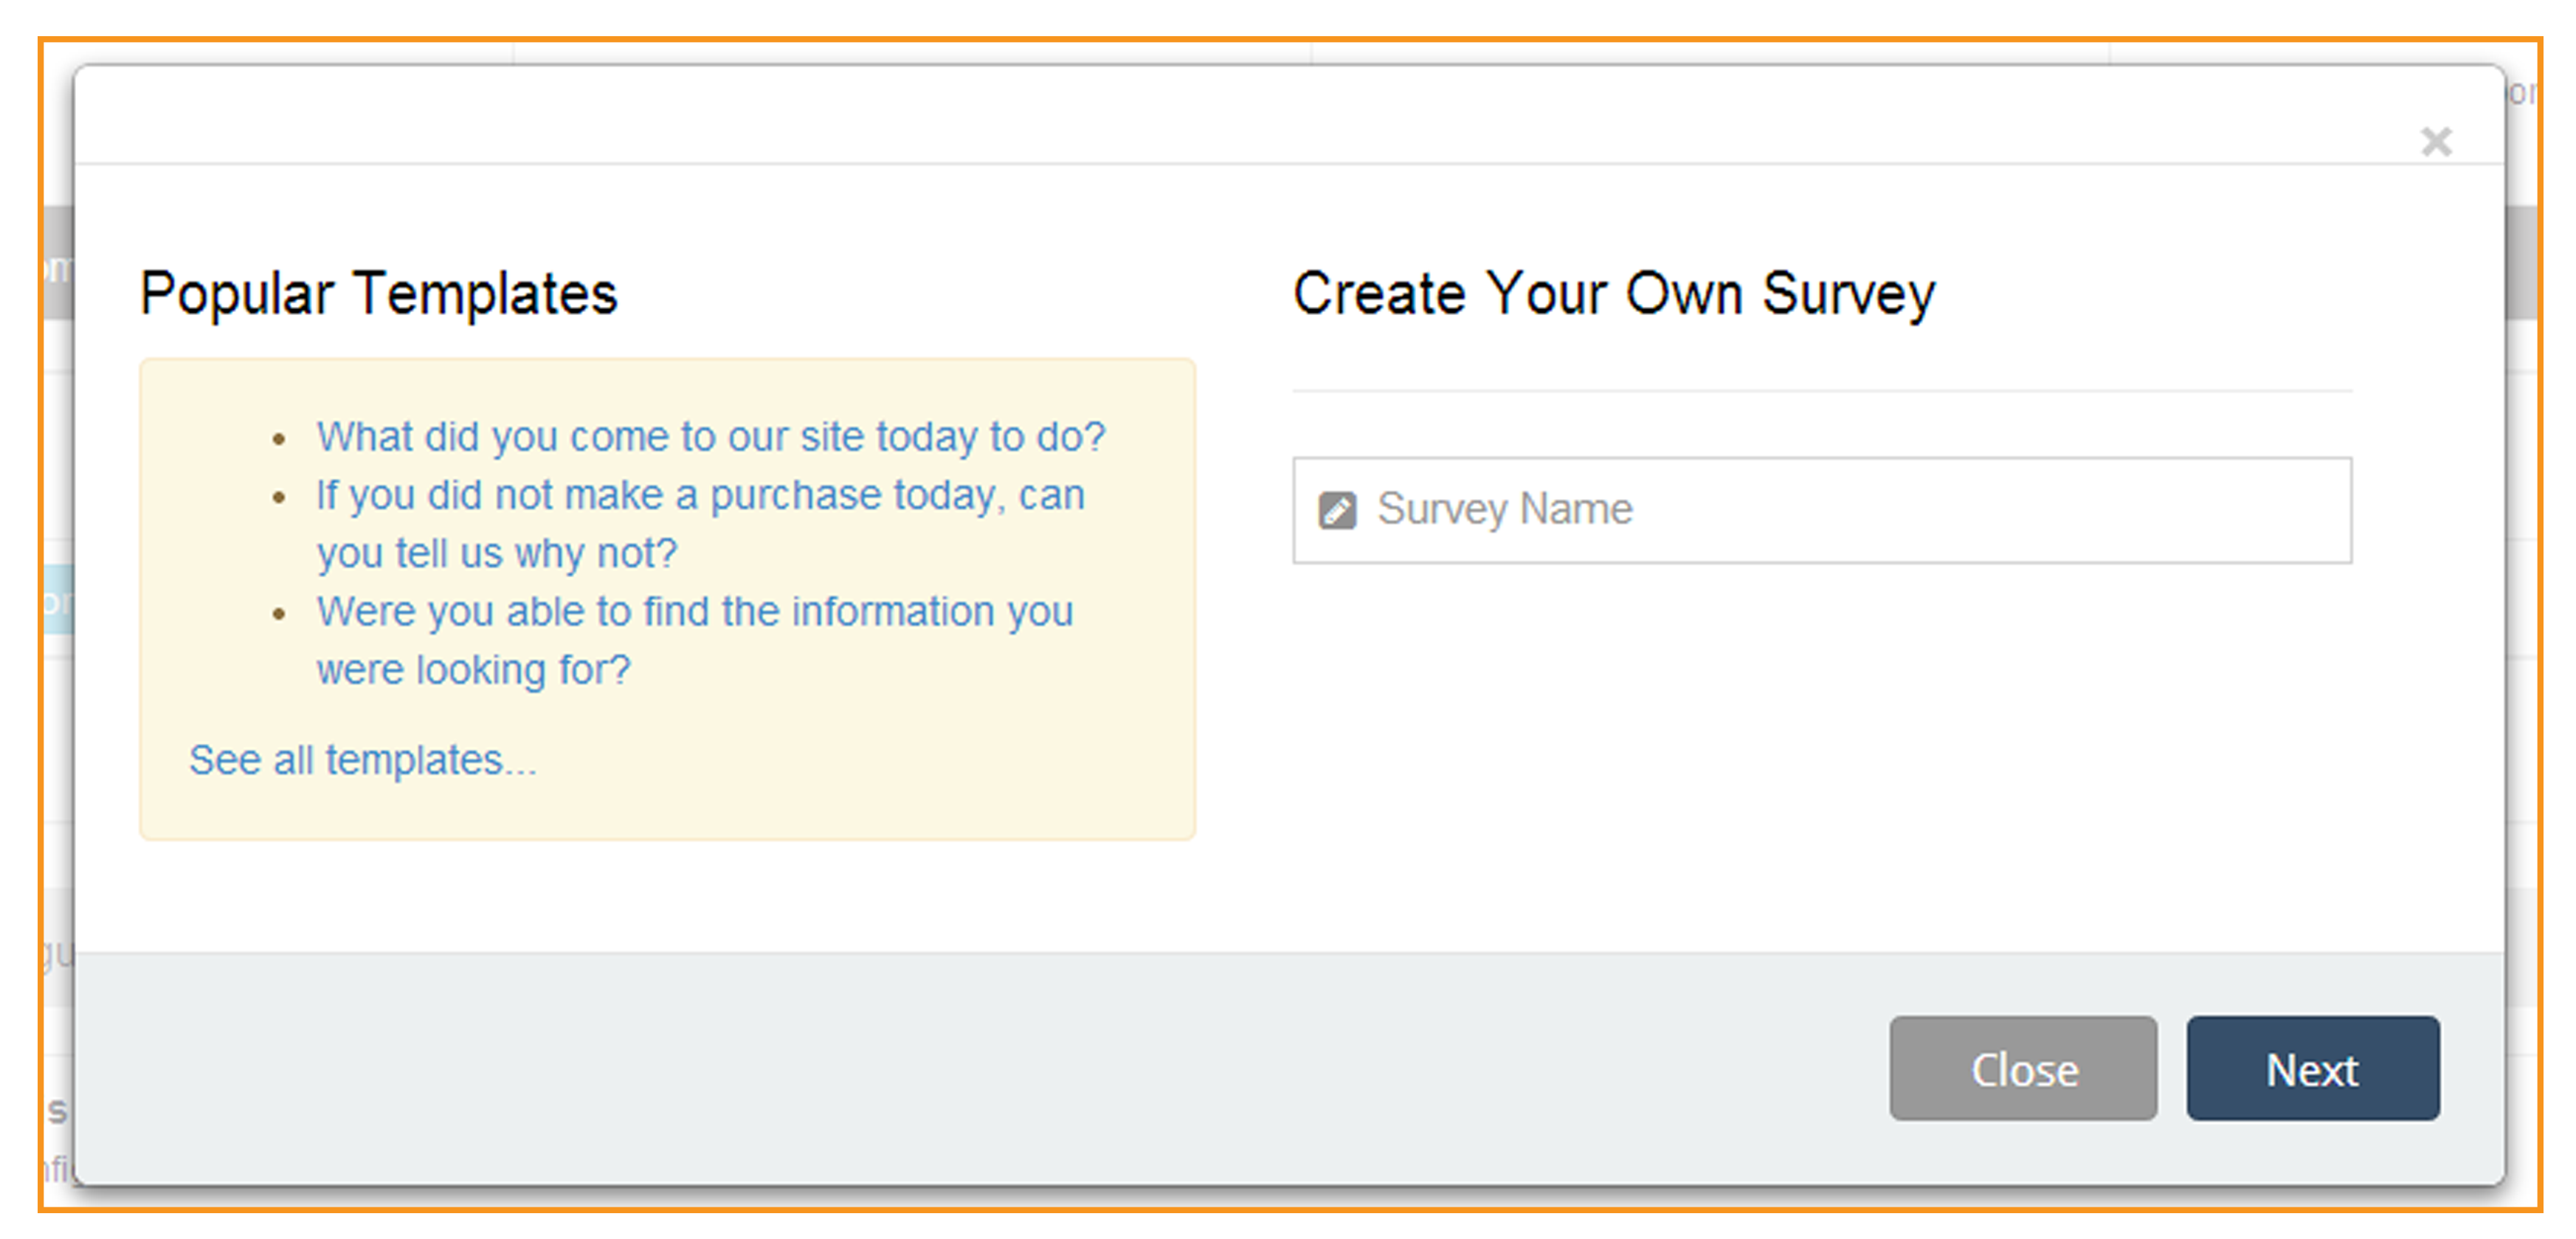
On the upper right corner next to your username, click “Create New Survey” and provide a title for your survey.
As you can see at the left side of the page, there are pre-defined templates for survey which you can use freely.
VERIFY YOUR TARGET
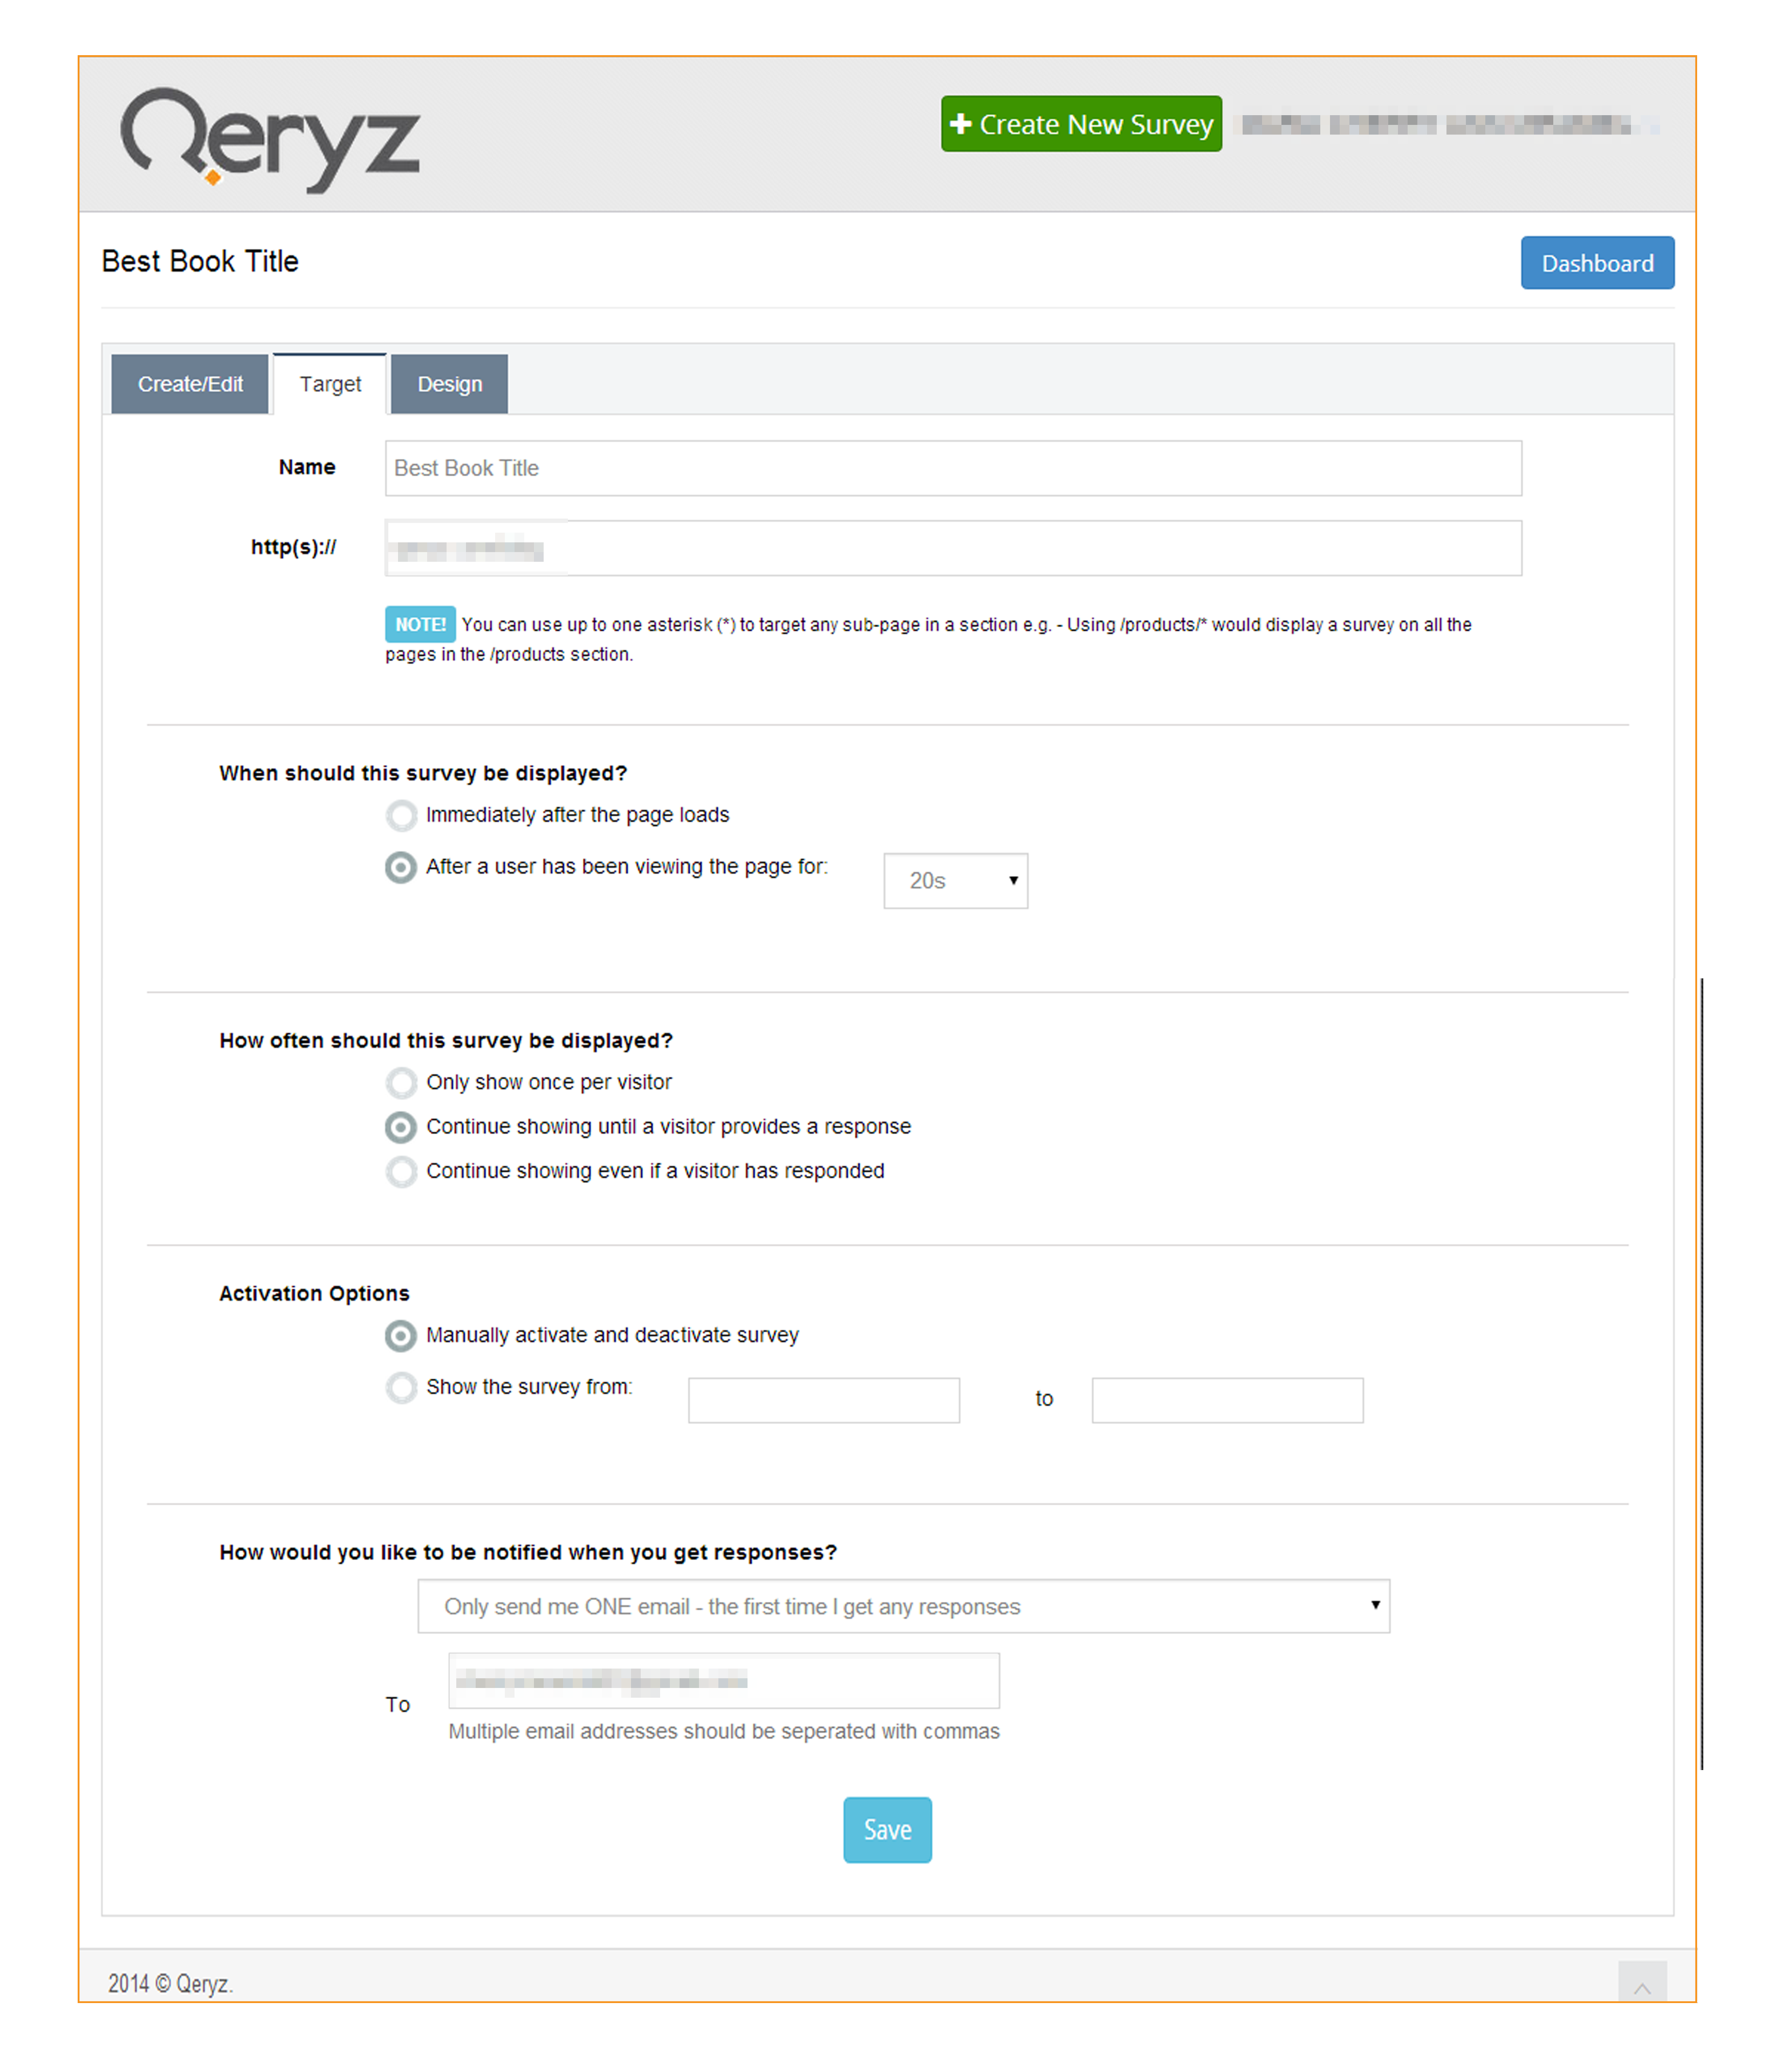
After creating a name for your survey, click the “Target” tab to verify on what site you’d like to use the survey. Also, you can choose when and how often your survey would be displayed in your site. And yes! Don’t forget to click the “Save” button below the form.
SURVEY PREVIEW
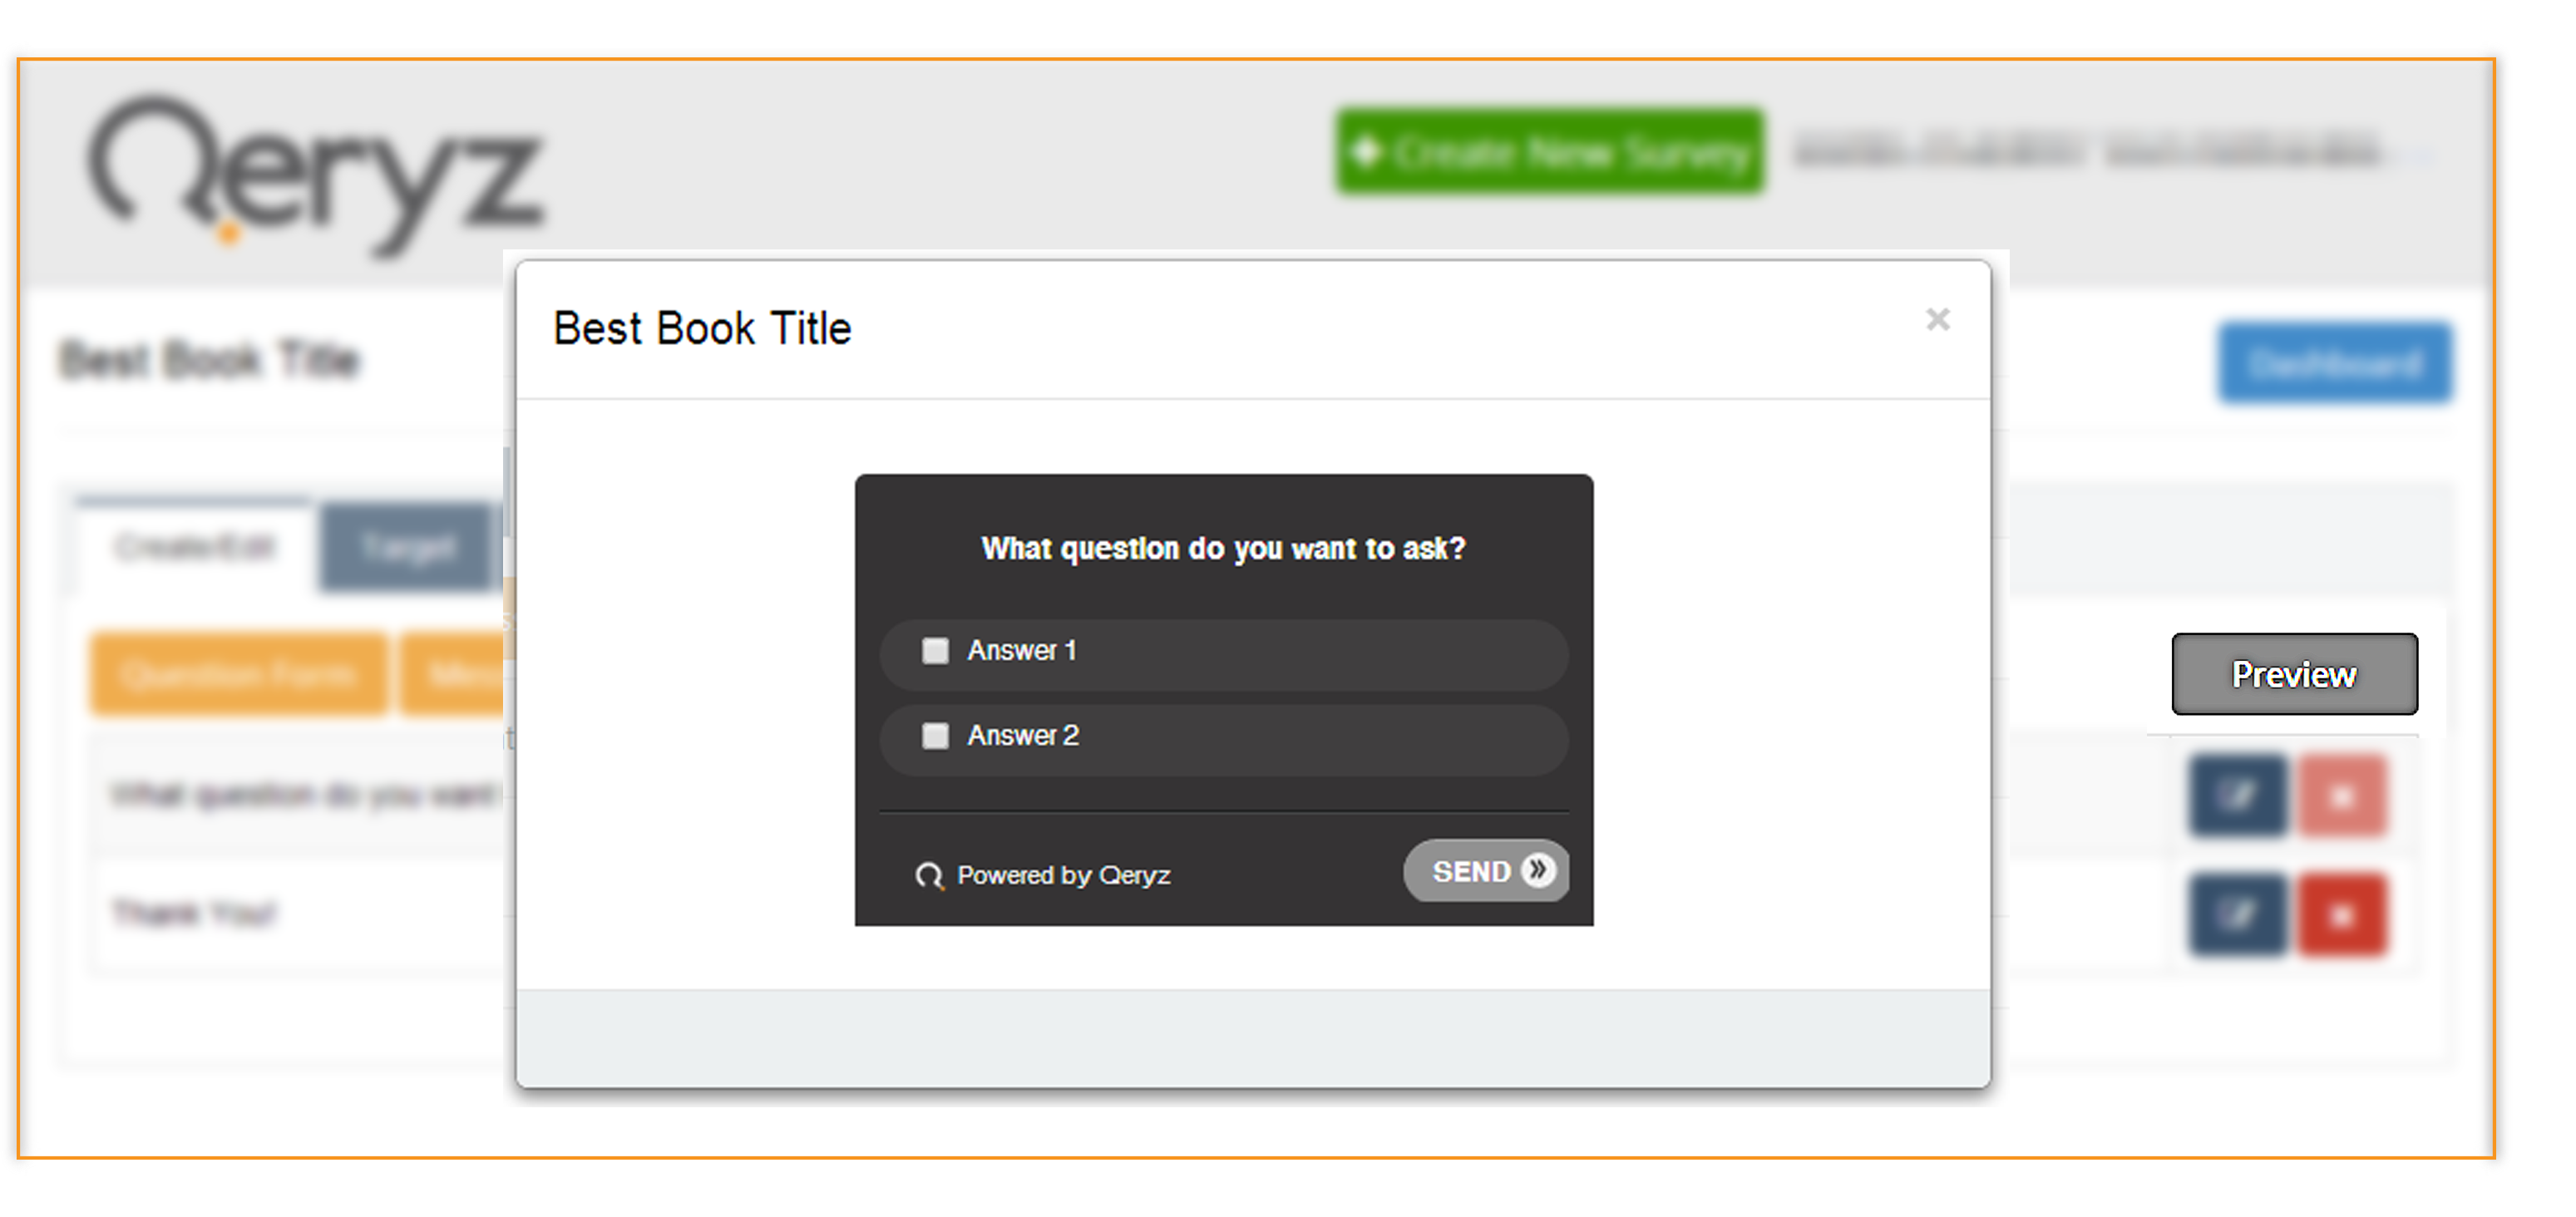
You can now see what your survey look like through “Preview” button located on the right section of your dashboard.
QERYZ SURVEY CODE
On your Dashboard, click “Install Code” right next to your survey’s title and copy the code. It would open a new window in your browser showing the code of your survey. Copy the code for installing it in your WordPress site.
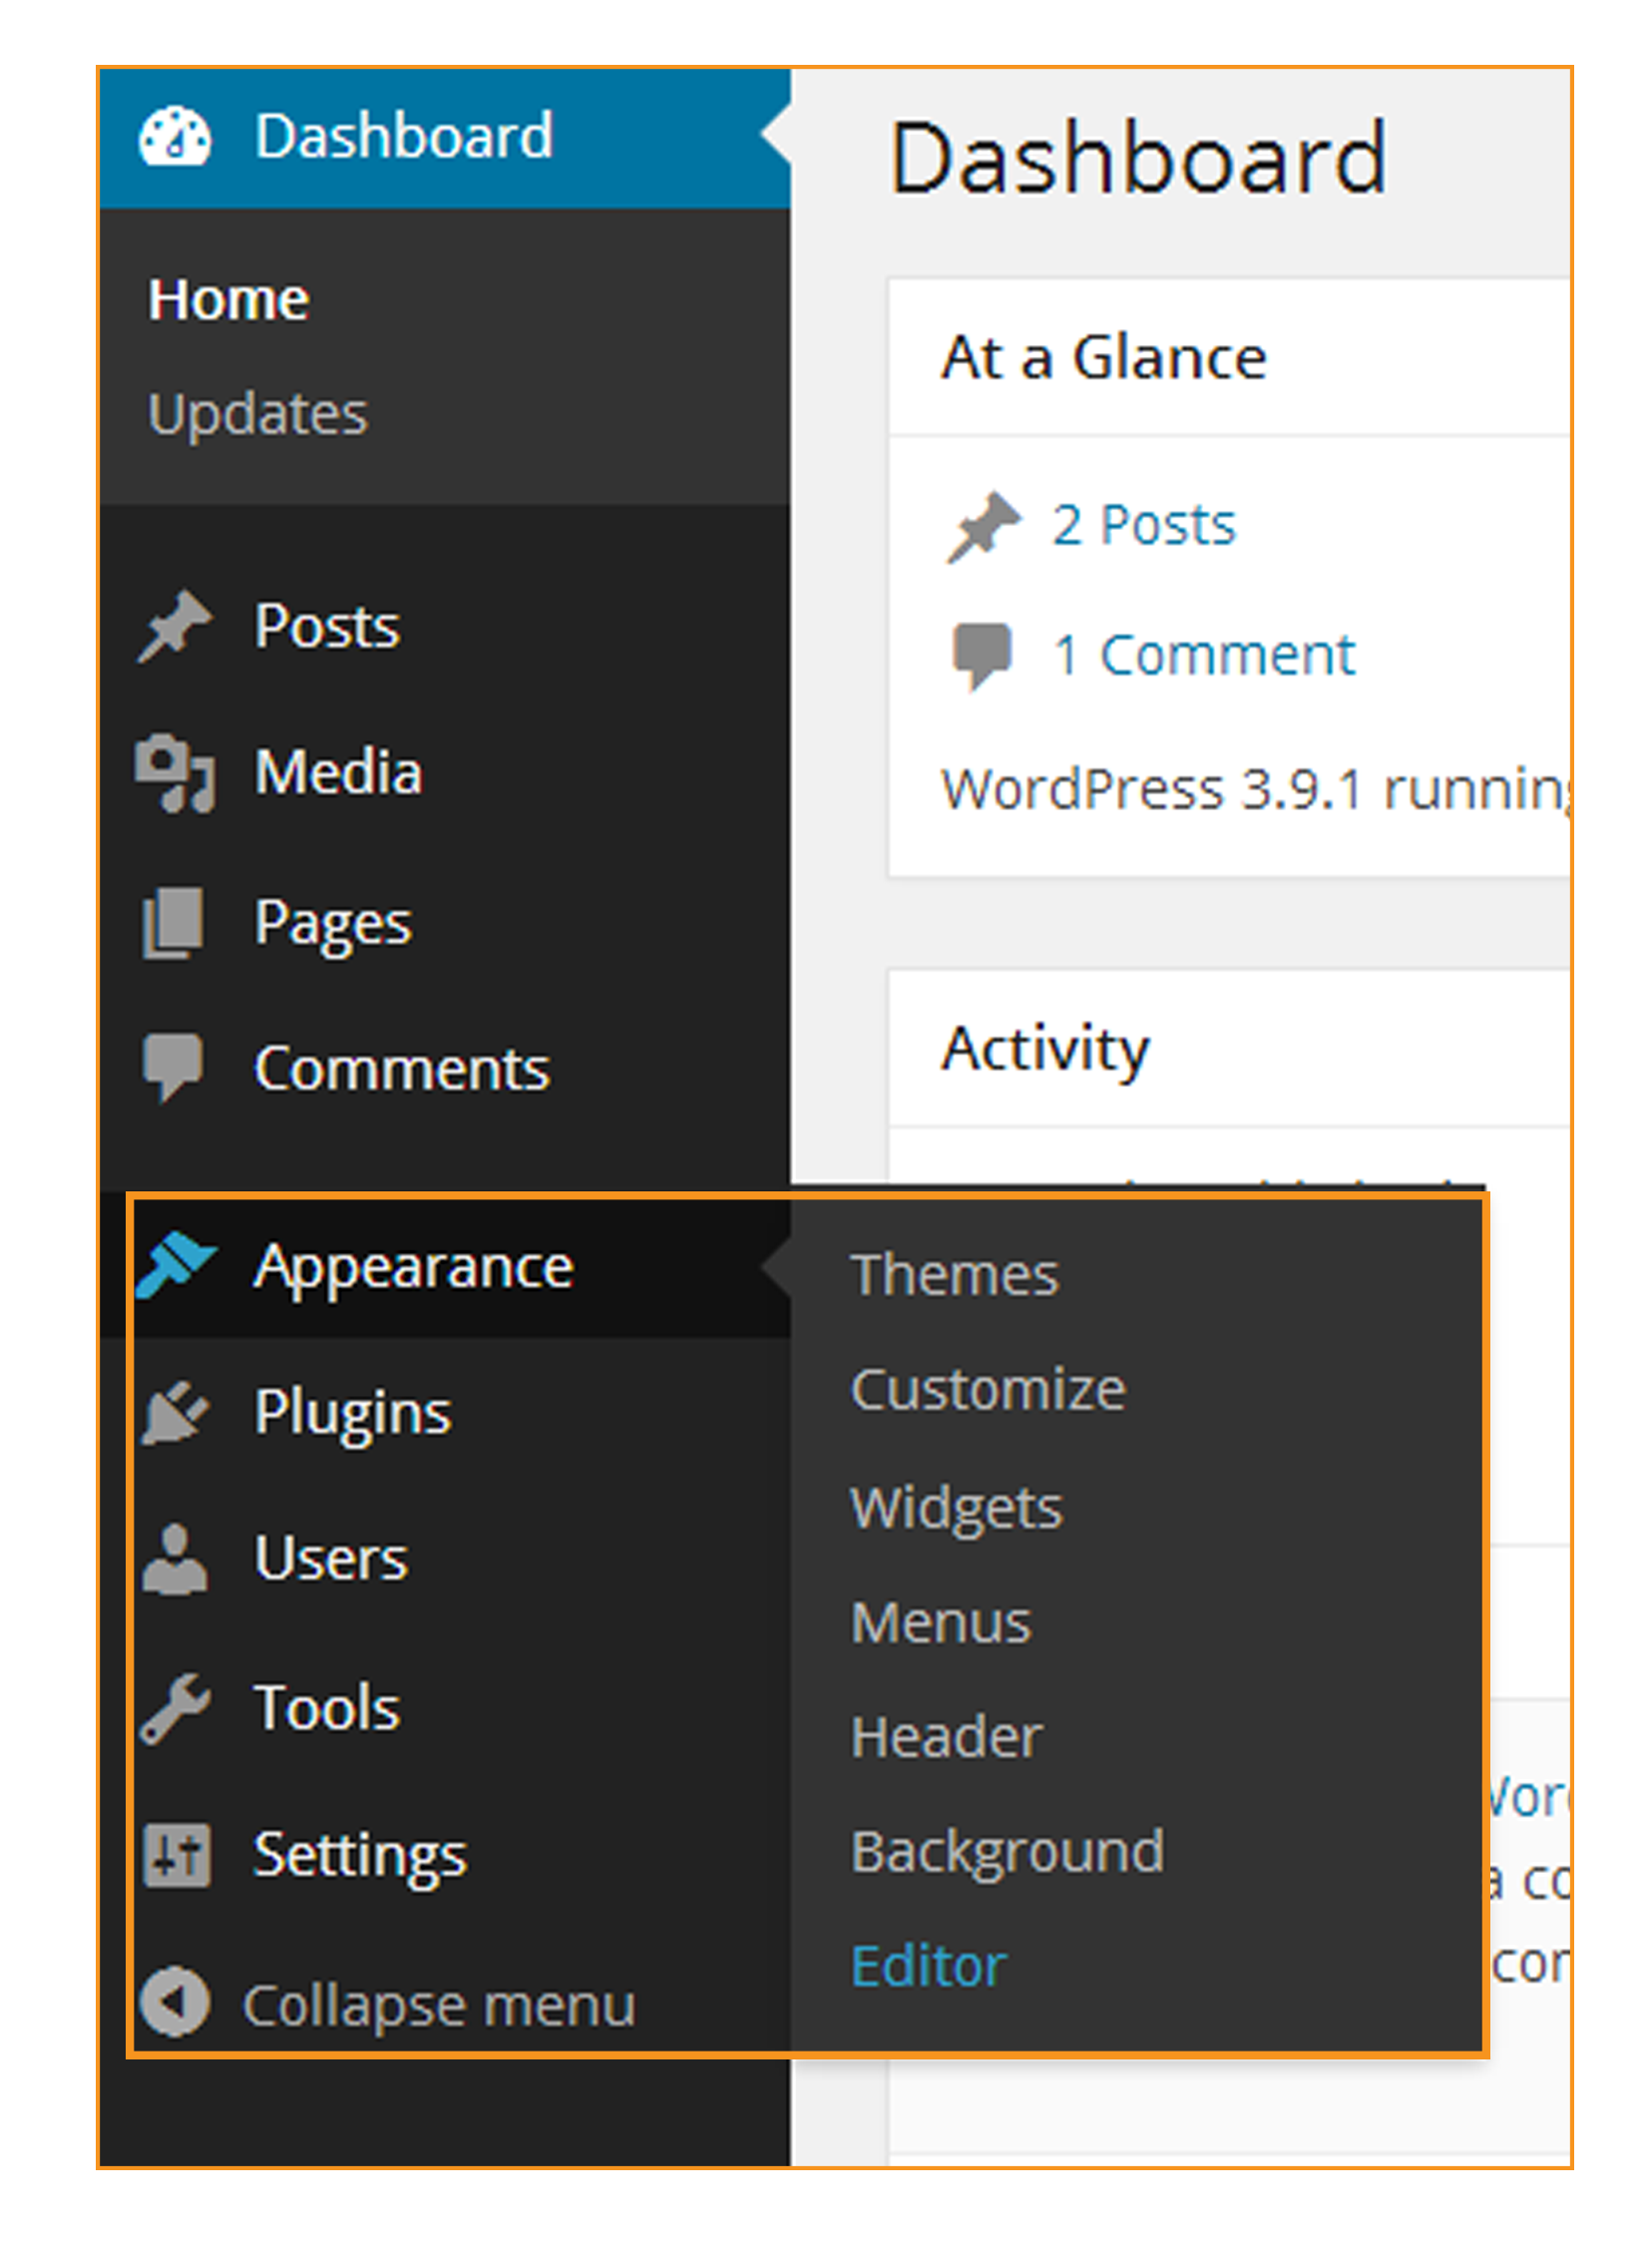
Log in to your admin section of your WordPress Blog. From your toolbar, mouse over on “Appearance” and select “Editor”.
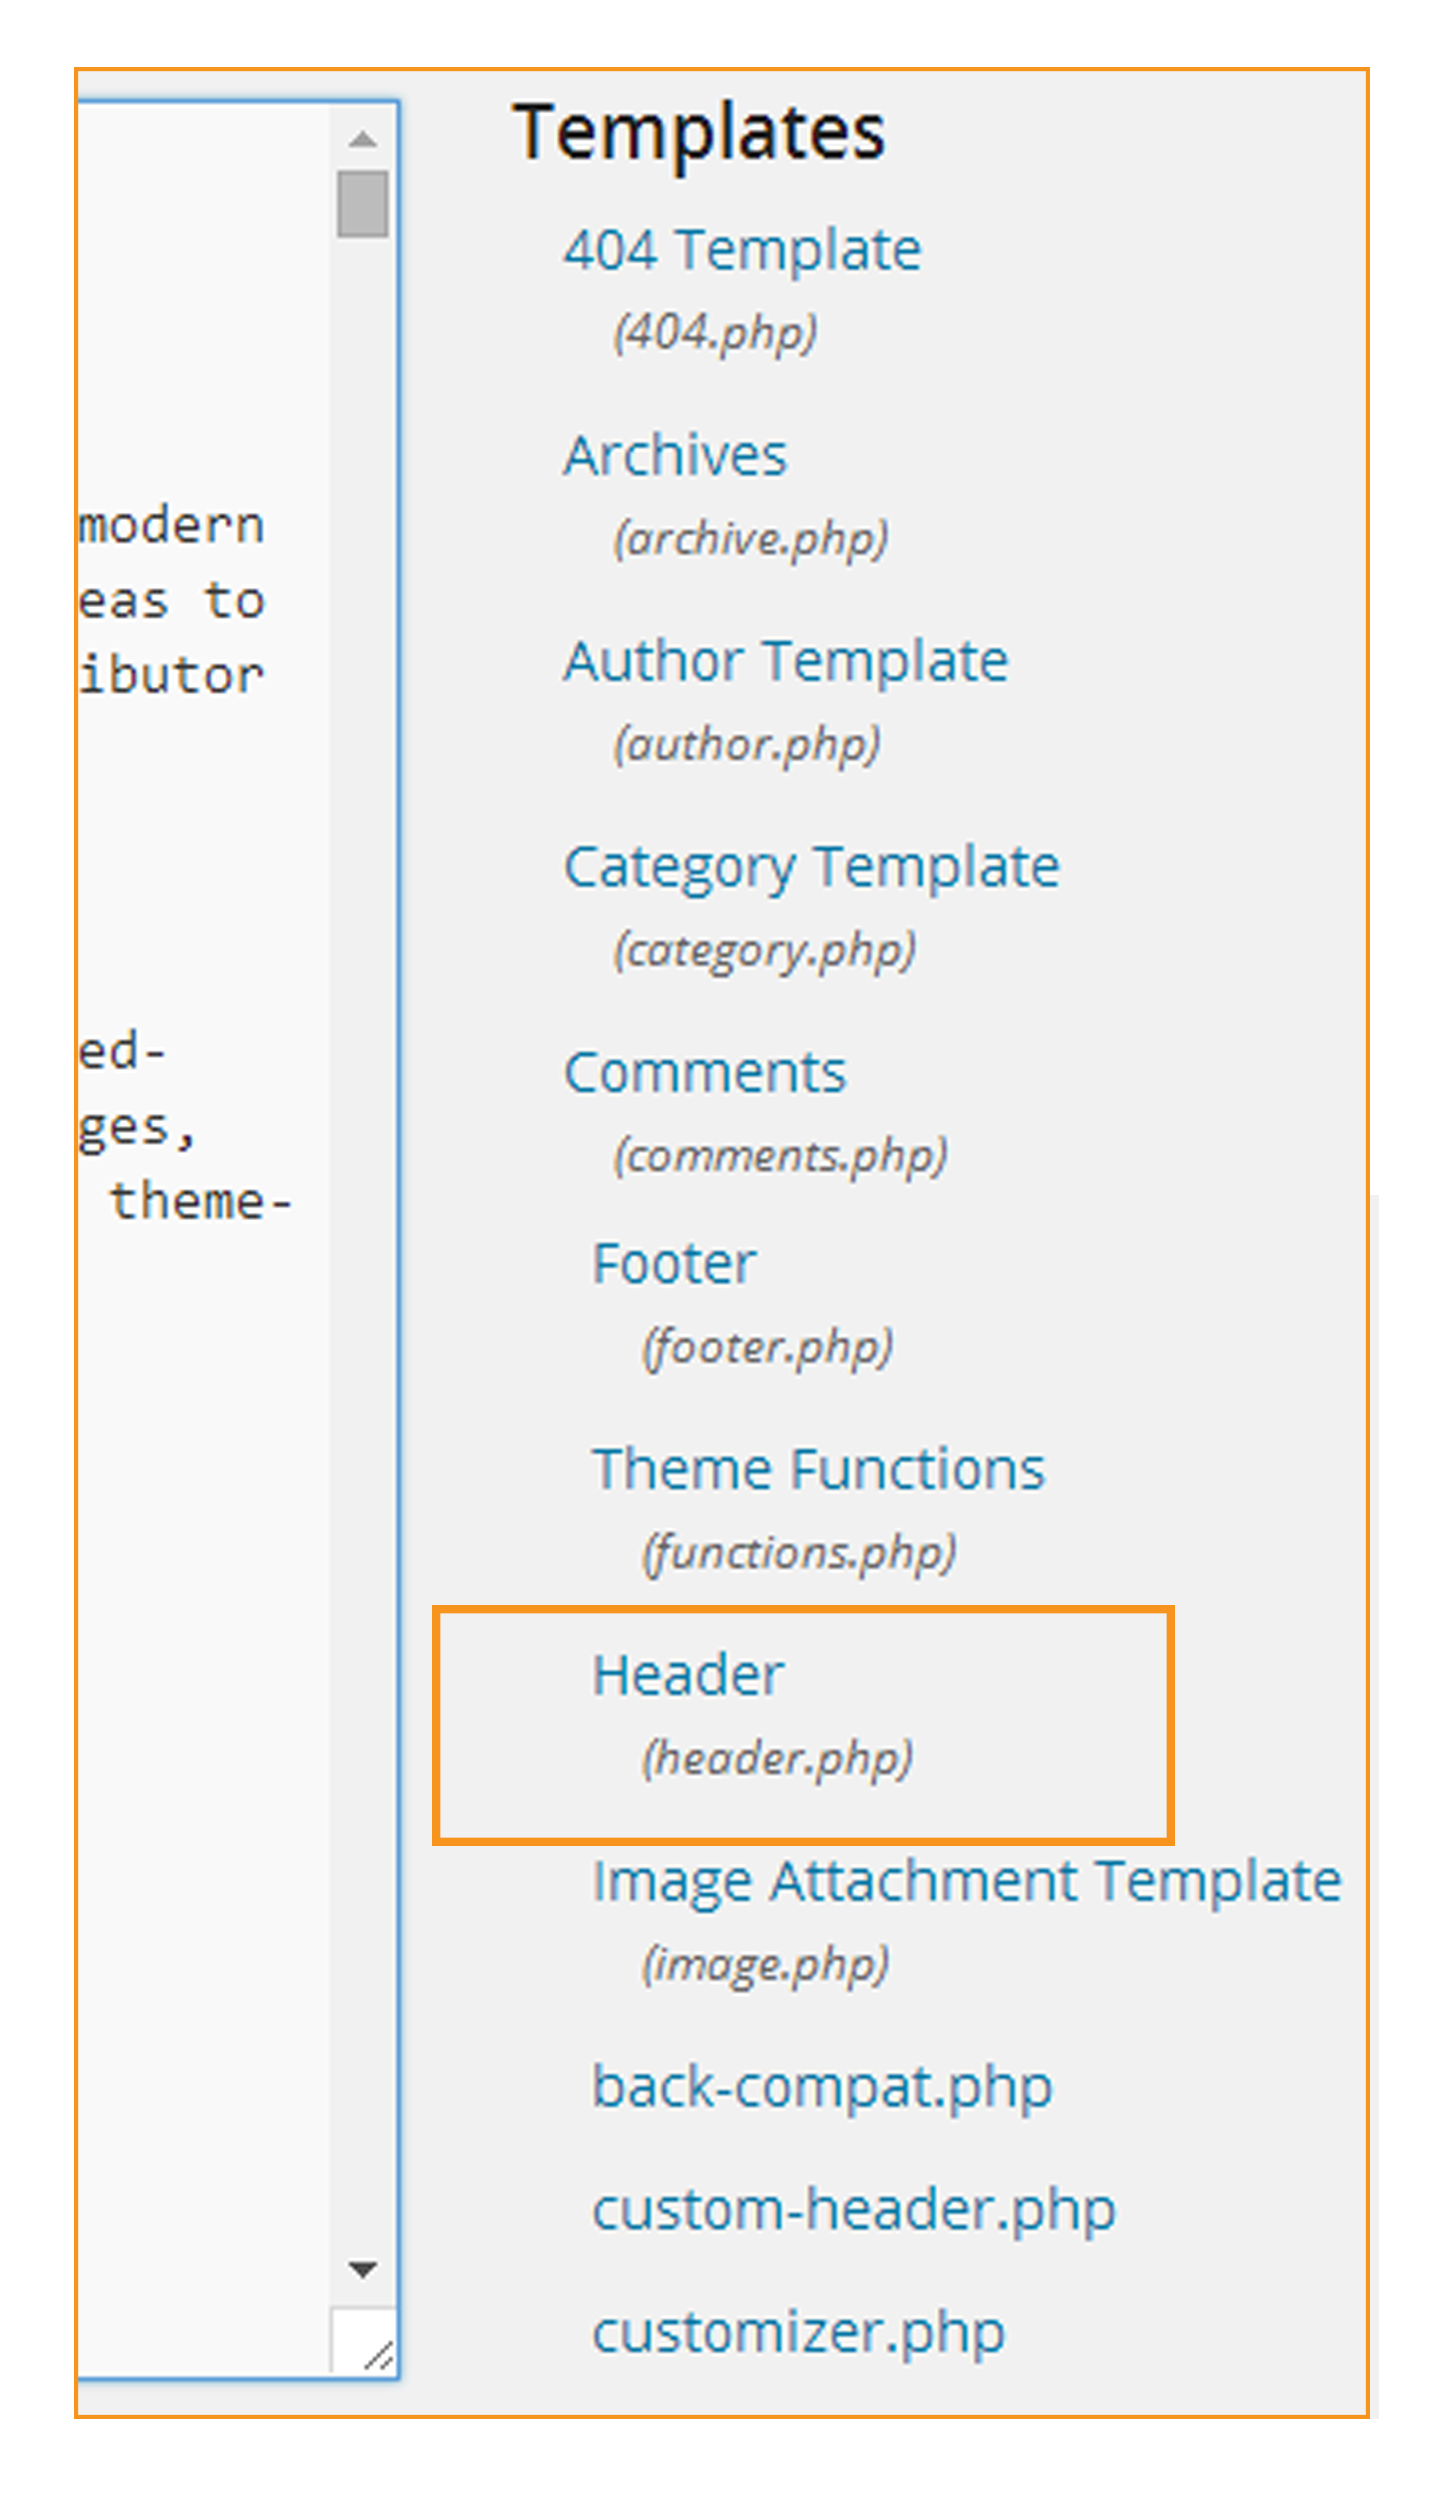
From the “Templates” section on the right, click “Header”.
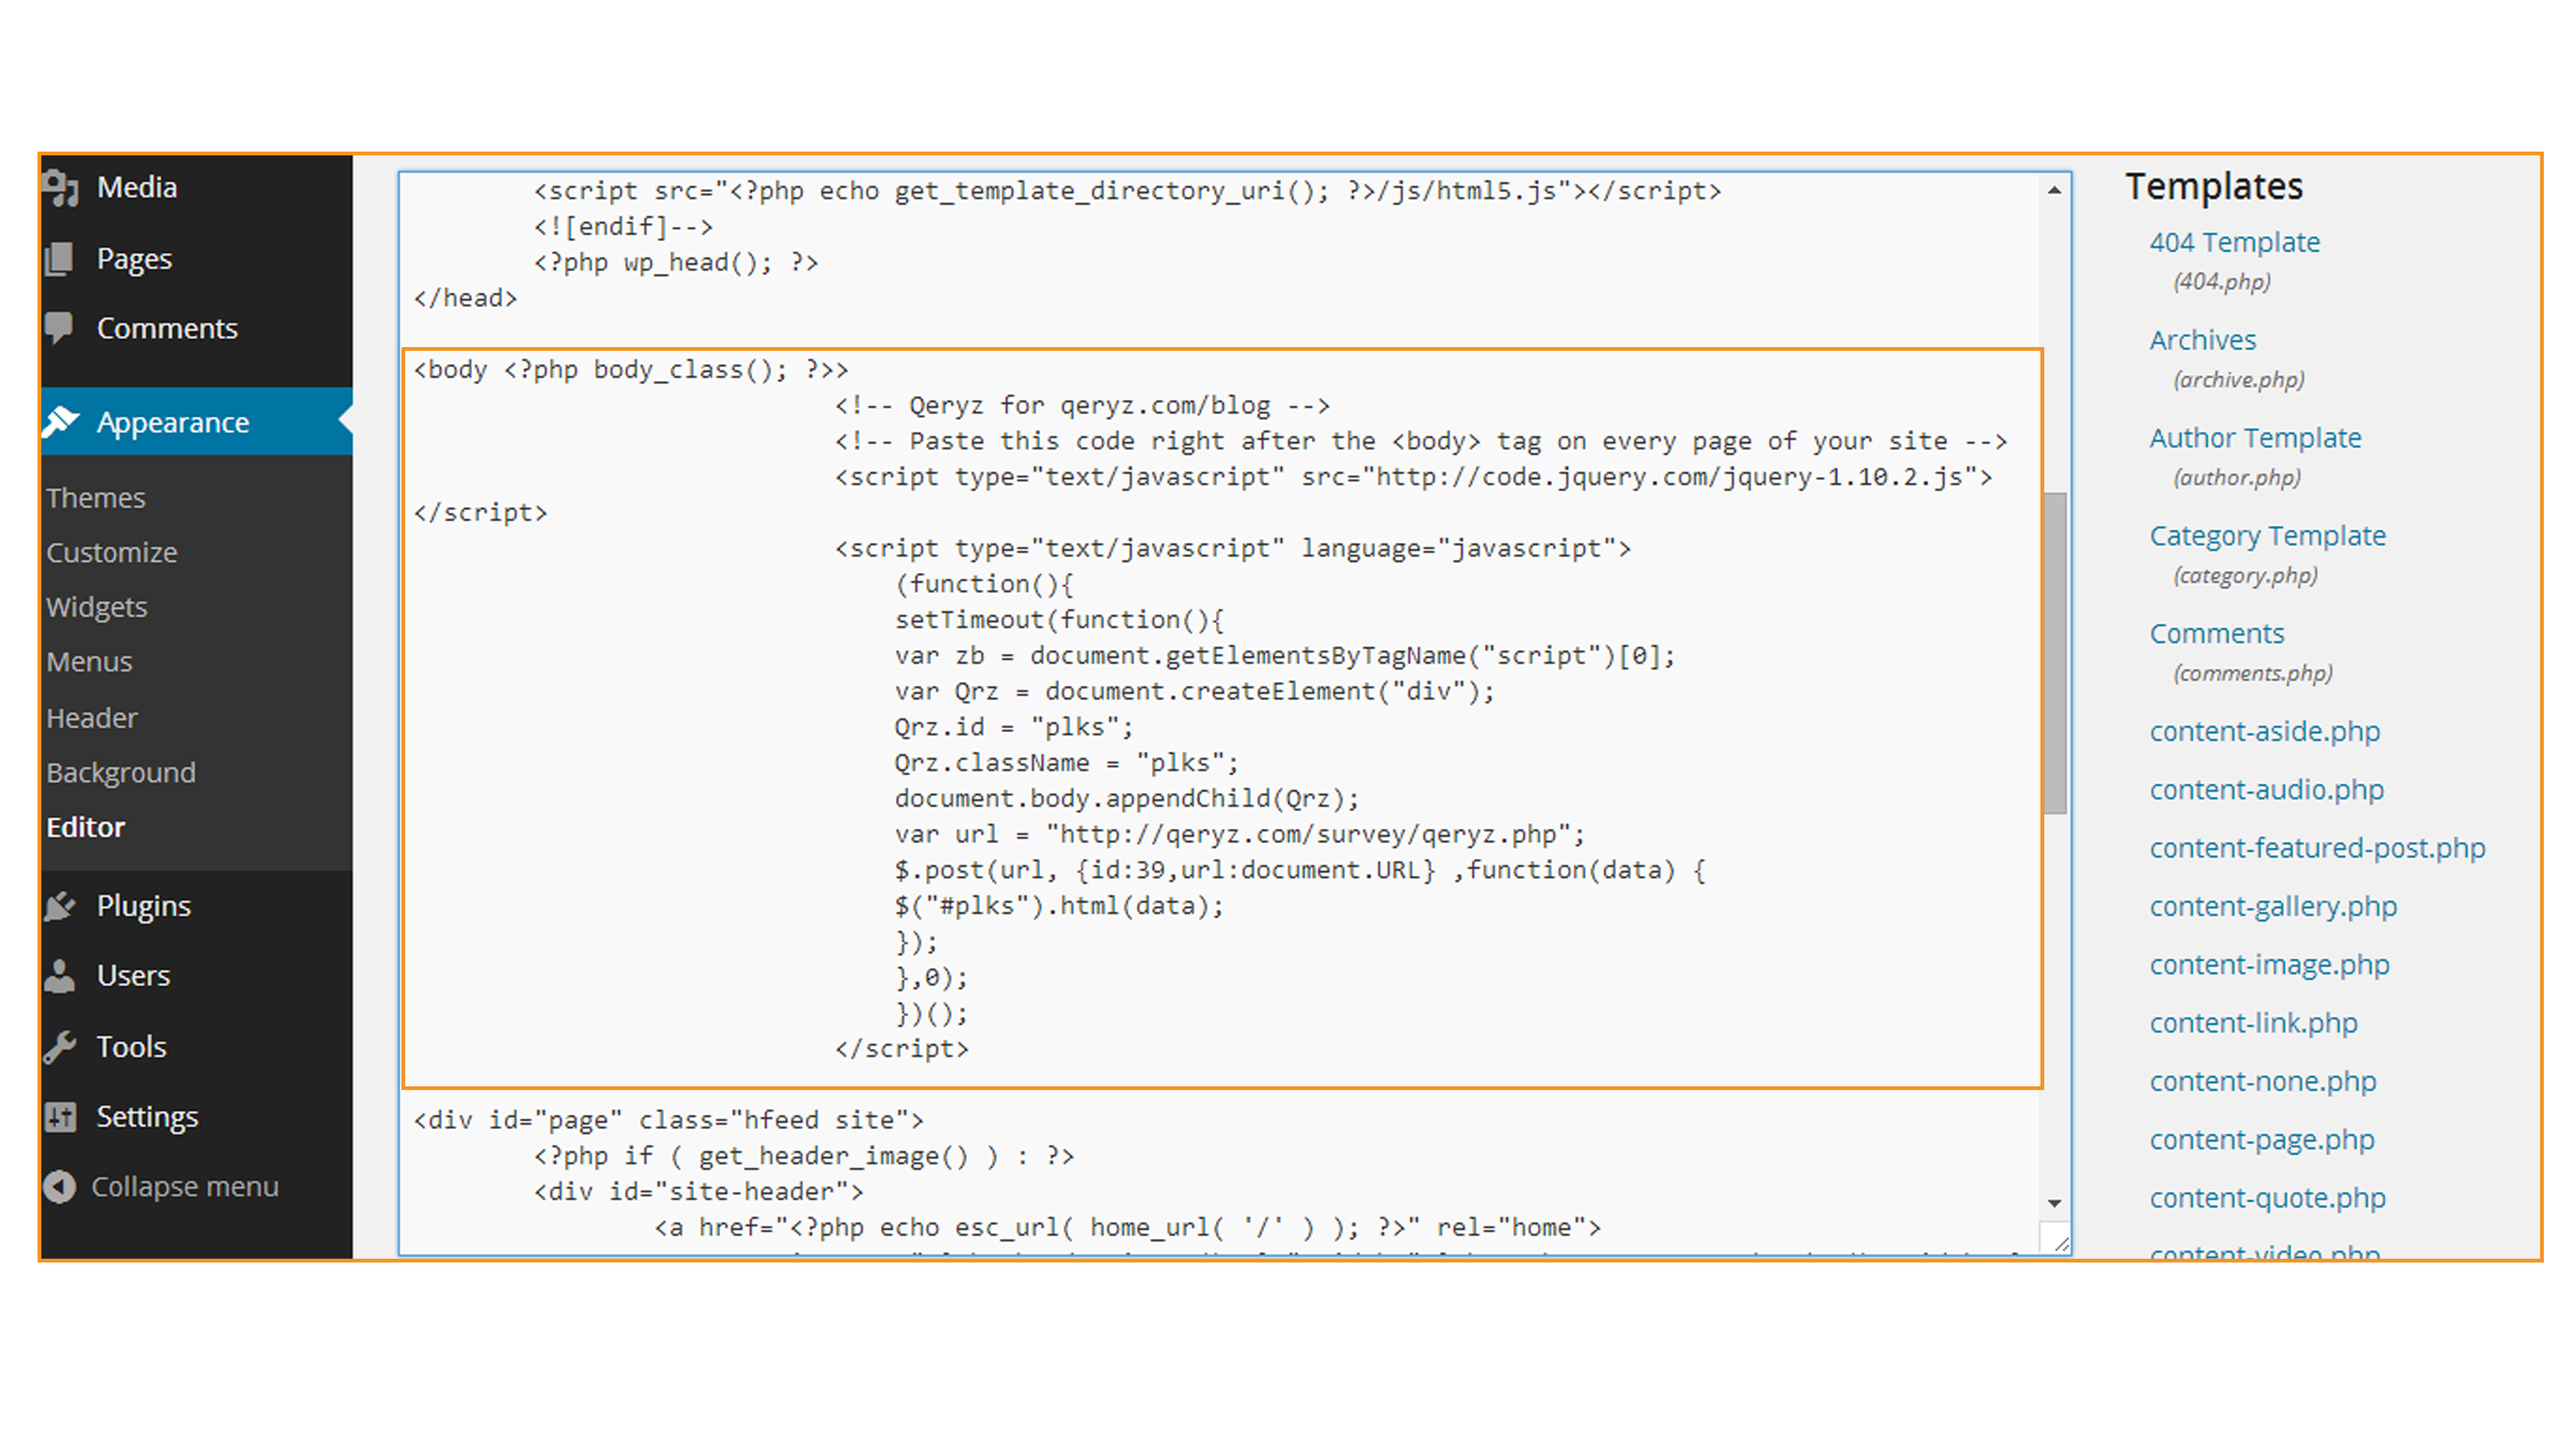
Locate the “body” tag on the code and paste the Qeryz code below and click “Update File” below.
Enable your survey by clicking the “enable” button on the left side of your survey template.

